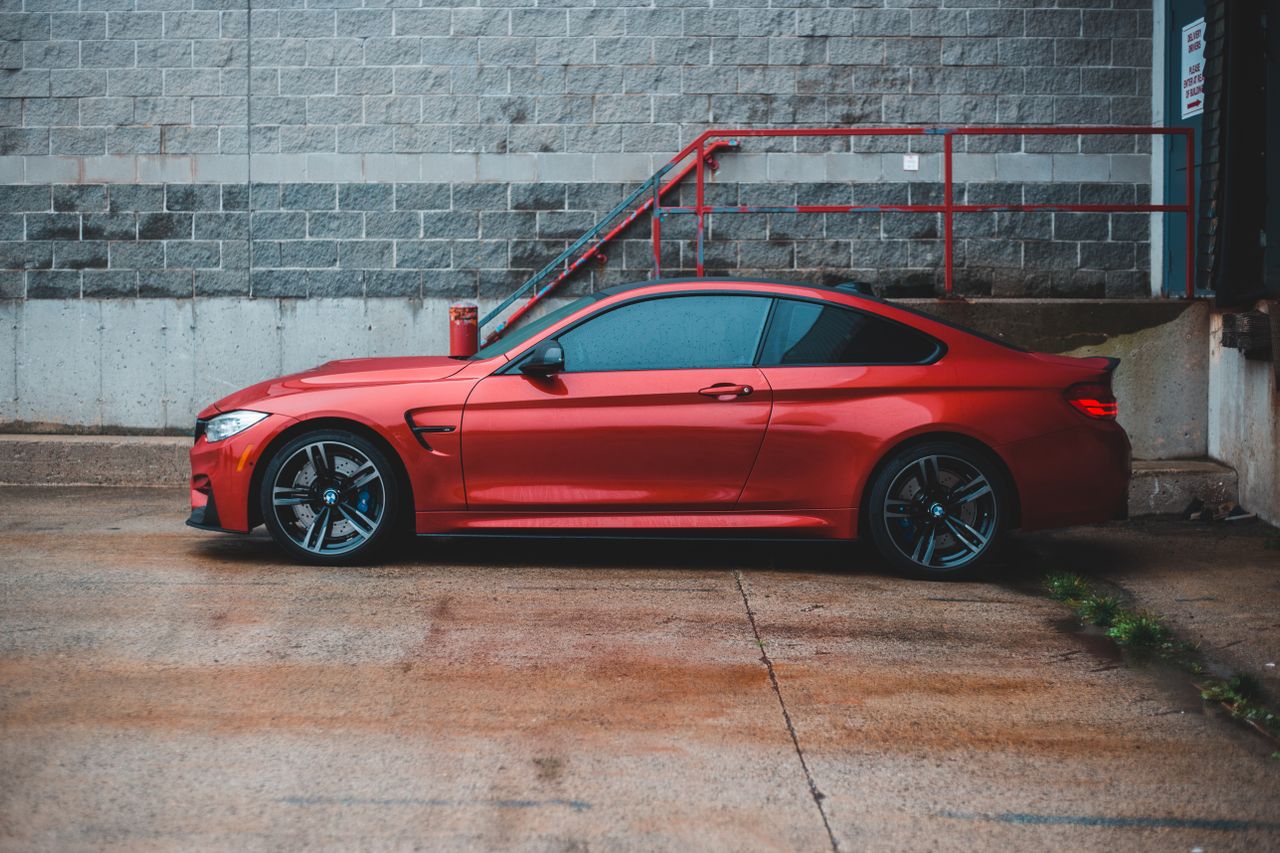
Living in Western Australia means constantly battling an extreme UV index that can turn your daily commute into an uncomfortable, sweltering ordeal. For vehicle owners in Cockburn, Perth, and surrounding suburbs, protecting the cabin from intense heat and preventing expensive leather seats from cracking is an absolute priority.
As a busy professional or parent, finding the time to drop your vehicle off at a workshop can feel impossible, leading many to search for DIY tutorials online. If you find yourself asking how do you tint car windows at home, it is crucial to understand exactly what the process entails before purchasing a retail film kit. This comprehensive guide breaks down the meticulous technical steps required, highlighting why achieving a flawless, bubble-free finish is incredibly difficult outside of a professional environment.
The Reality: how do you tint car windows Flawlessly?
When watching heavily edited online tutorials, the process of applying automotive film often looks deceptively simple. A technician sprays some soapy water, slaps the film on the glass, and squeegees it flat in a matter of minutes. In reality, automotive window film application is a highly specialised trade that takes years to master.
Modern automotive glass is rarely perfectly flat; it features complex, compound curves that require precise heat manipulation to conform the film to the glass without creasing. Furthermore, the environment must be completely surgically clean. A single microscopic speck of airborne dust trapped between the glass and the film will create a glaring, permanent bubble that ruins the aesthetic of your vehicle.
Step 1: Meticulous Glass Preparation
The foundation of any successful installation is absolute cleanliness. Technicians do not just wipe the window with standard glass cleaner; they use a specialised slip solution and surgical-grade razor blades to scrape every microscopic contaminant from the inside of the pane.
This deep cleaning process includes scrubbing the tight rubber window seals where years of dirt and grime accumulate. If you are tinting car windows at home in a dusty driveway, achieving this level of surgical cleanliness is virtually impossible. Any dirt hidden within the rubber gaskets will instantly flush out when you spray your slip solution, ruining the adhesive bond of your new film.
Step 2: The Art of Heat Shrinking
Once the glass is prepped, the film must be measured and cut on the outside of the window. Because modern rear windscreens and side windows are heavily curved, a flat sheet of film will naturally bunch up into large “fingers” at the top and bottom edges.
This is where the true difficulty lies. Technicians must use a high-temperature industrial heat gun to meticulously shrink the polyester film so it takes on the exact curvature of the glass. Apply too little heat, and the film will inevitably peel and lift after a few days. Apply just a fraction of a second too much heat, and you will instantly burn, melt, or crease the material, destroying the entire sheet and forcing you to start over.
Step 3: dust-free application techniques
The actual application occurs on the interior of the glass. The protective liner is peeled away, exposing the highly sensitive adhesive, which is then flooded with a slip solution. Transporting this wet, sticky film from your cutting board to the inside of the vehicle is incredibly risky.
Professional installers utilize rigorous dust-free application techniques, ensuring that the film never touches the interior door trims, the headliner, or the seats. A slight brush against the fabric pillar will instantly attract lint to the adhesive. Once the lint is trapped, it cannot be removed, resulting in the unsightly white clusters and bubbles commonly seen on amateur DIY jobs.
Step 4: Precision Squeegee and Edge Filing
Once the film is placed onto the glass, the technician uses specialized urethane squeegees to forcefully push the slip solution out from under the film, locking the adhesive to the glass. This requires significant pressure; too little pressure leaves water trapped, which can cause the film to blister under the intense Perth sun.
Finally, for frameless windows, the top edge must be precisely filed down to the absolute microscopic edge of the glass. This ensures that when the window is rolled up and down, the film does not catch on the rubber weather stripping and begin to peel backward.
Why the best auto window tint Cannot Save a Bad Install
Many DIY enthusiasts assume that if they simply purchase a high-quality product, the installation will naturally be easier. Unfortunately, the opposite is often true. The best auto window tint products on the market are actually significantly thicker and more rigid than cheap, standard dyed films.
Premium materials, such as Ceramic films for maximum heat rejection, are engineered with advanced microscopic nano-ceramic particles. This density makes them exceptional at blocking up to 90% of infrared heat and 99.9% of UV rays, but it also makes them incredibly difficult to heat shrink and manipulate. If you do not have the specialized tools and experience to handle ceramic technology, your expensive DIY kit will quickly turn into a frustrating, costly mistake.
To understand more about why premium materials are essential for our local climate, you can explore the best car window tinting perth has to offer.
The True Cost of tinting car windows Yourself
When factoring in the time, stress, and high probability of failure, DIY tinting often ends up costing far more than a professional service. If you crease the film during the heat shrinking phase or trap dust during the application, you have completely wasted the material cost.
Worse yet, if you successfully apply the film but it begins to bubble and peel after one blistering WA summer, you must now deal with the grueling removal process. Removing failed adhesive requires toxic solvents, razor blades, and hours of intensive scraping. You will then have to pay a professional to redo the job anyway. Bypassing the DIY headache and booking a dedicated car window tinting service from day one is a far more strategic and cost-effective investment.
Navigating WA Legal Tint Limits
Another major risk of DIY application is inadvertently breaking the law. The Department of Transport strictly enforces specific WA legal tint limits to ensure nighttime visibility and driver safety.
For standard passenger vehicles, the front side windows must maintain a Visible Light Transmission (VLT) of 35%, while the rear windows can legally sit at 20% VLT. Because your vehicle’s factory glass already has a slight inherent tint, applying a store-bought 35% film will actually drop the combined VLT well below the legal limit. Our professional technicians utilize digital VLT meters to ensure your vehicle remains perfectly compliant, protecting you from instant police fines and insurance voids.
The Ultimate Convenience: Our Professional Mobile Service
For busy professionals and dedicated parents, time is an invaluable asset. You do not have to spend your weekend wrestling with sticky film or sitting in a bleak workshop waiting room to achieve a premium finish. At Solartint Cockburn, we have engineered our operations completely around your convenience.
We offer comprehensive window tinting services/car window tinting directly at your home or workplace. Our fully equipped mobile vans deliver the exact same surgical precision and high-performance ceramic films you would receive at a dedicated facility, allowing you to carry on with your day uninterrupted. If you are curious about how our on-site process works, read our breakdown of mobile car window tinting perth.
What We Need for a Mobile Service
To guarantee our strict quality control standards and deliver a flawless, bubble-free installation, we require a highly controlled environment upon arrival:
-
An Enclosed Double Garage: Your vehicle must be parked inside a fully sheltered, enclosed space. This protects the delicate glass preparation and film application process from coastal winds, airborne dust, and direct, blinding sunlight.
-
Reliable Power Access: We require access to a standard electrical outlet to power our heavy-duty heat guns, which are absolutely essential for precisely shrink-molding the thick ceramic film to the exact curvature of your vehicle’s glass.
-
Adequate Space and Bright Lighting: Our technicians require sufficient clearance around the entire perimeter of the vehicle to fully open all doors without obstruction. We also need bright overhead lighting to perform our rigorous final squeegee process and quality assurance inspection.
Conclusion
While the idea of learning how do you tint car windows at home might seem like a fun weekend project, the reality is a highly frustrating, technical challenge. From the surgical glass preparation to the complex heat shrinking required for modern curved glass, the margin for error is essentially zero. A single mistake results in trapped dust, peeling edges, and wasted money.
By trusting specialised professionals, you completely bypass the stress of bubbling films and ensure your vehicle is fitted with premium ceramic technology. Our mobile service guarantees unmatched infrared heat rejection, total UV protection, and absolute compliance with WA road laws, all without ever forcing you to leave your home.
Ready for a Flawless, Hassle-Free Upgrade?
Do not waste your weekend battling dust and creased film. Trust the local specialists who deliver exceptional craftsmanship and absolute convenience directly to your door.
Visit our Contact us page today to request a comprehensive, free quote and schedule your premium mobile installation.